Arizona Roof Experts by New Image Homes, LLC

Flat roofs are a popular choice for homeowners and businesses thanks to their clean look, lower material cost, and extra usable space. But because they lack the steep pitch of a traditional roof, flat roofs are more exposed to ponding water, UV damage, and membrane wear over time. Knowing how to spot problems early and how to fix them correctly can save you thousands in avoidable damage.
This guide covers everything you need to know about flat roof repair, including:
- Signs your flat roof needs repair
- A 7-step process for repairing a flat roof
- When it’s time to call in the professionals
How to Know When Your Flat Roof Needs Repair
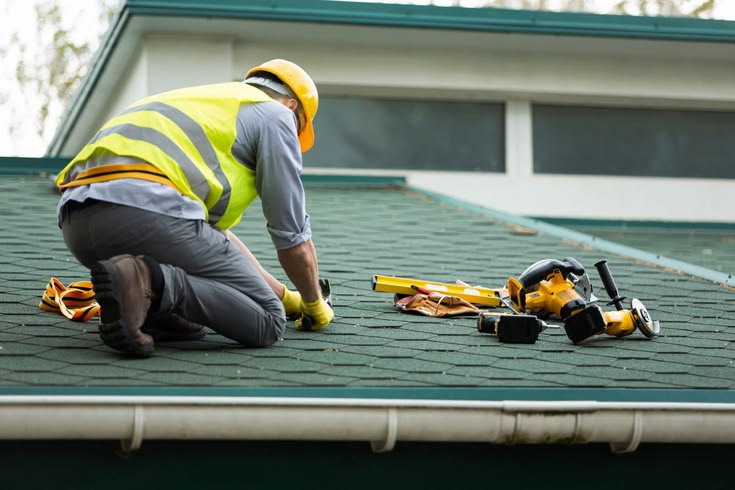
Flat roofs usually give clear warning signs before a small issue becomes a major one. The most common red flags include standing water that doesn’t drain within a day or two, visible leaks, and water stains on ceilings or interior walls. Cracking, bubbling, or blistering on the roof surface is also common, typically caused by sun exposure and trapped moisture beneath the membrane.
Other signs worth watching include sagging sections of the roof deck, often a sign of trapped water or weakened support underneath, and damaged flashing around vents, skylights, or roof edges, which is one of the most frequent causes of hidden leaks. If any of these issues show up, it’s best to deal with them before the next heavy rain.
Benefits of Timely Flat Roof Repair
Putting off repairs almost always costs more in the long run. Acting quickly offers real advantages:
- Extends roof lifespan: Small repairs done early can add years of service life to the roof.
- Reduces total cost: Fixing minor damage is far cheaper than a full roof replacement later.
- Protects the building structure: Unaddressed leaks can damage the roof deck, insulation, and framing.
- Preserves energy efficiency: A properly sealed roof keeps heating and cooling costs in check.
7 Steps to Repair a Flat Roof
The best way to repair a flat roof is to follow a consistent, methodical process rather than rushing a patch job. Here’s how professionals typically approach flat roof leak repair from start to finish.
1. Inspect the Roof
Every repair starts with a thorough inspection to find every problem area, not just the obvious one. Walk the roof looking for cracks, punctures, blisters, and soft spots, paying close attention to seams, edges, and anything penetrating the roof vents, drains, HVAC units, and skylights, which are common trouble spots. Marking each issue as you find it (chalk, tape, or photos) keeps you from missing damage once repairs begin. If the roof is steep, hard to access, or the damage looks extensive, this is a good point to schedule a professional roof inspection rather than climbing up yourself.
2. Clear Away Debris
Repair materials won’t bond properly over dirt, gravel, leaves, or loose granules, so the surface needs to be fully cleaned before any work starts. Sweep or blow off loose debris, then use a mild cleaner and a soft brush on stubborn grime without scrubbing hard enough to damage the surface further. Once clean, letting the area dry completely trapped moisture under a patch is one of the most common reasons flat roof repairs fail early.
3. Prep the Damaged Area
With a clean, dry surface, cut away any blistered, loose, or badly damaged material using a sharp utility knife. Work carefully so you don’t widen the damage more than necessary. If you find trapped moisture under a blister, cut it open and let it dry. A heat gun can fully speed this up. Smooth out any uneven edges or rough patches so the new material will sit flat and bond evenly.
4. Apply Roofing Adhesive
Select an adhesive that’s compatible with your roofing material. Asphalt, EPDM, TPO, and modified bitumen each require different products, so check the specs before buying. Spread the adhesive evenly across the prepped area with a trowel or brush, extending slightly past the edges of the damage so the patch has full coverage to bond to. Let it set for the time recommended on the product label before moving forward.
5. Apply the Patch
Cut a patch from material that matches your existing roof, sized to overlap the damaged area by at least two inches on all sides. Using the correct flat roof repair materials here matters. Mismatched membranes (like applying an asphalt patch to an EPDM roof) rarely bond properly and tend to fail within a season. Lay the patch down carefully, pressing out any wrinkles or air pockets so it sits completely flat against the surface.
6. Seal the Edges
A patch is only as good as its seal. Apply a bead of sealant or additional adhesive around the entire perimeter of the patch, smoothing it out so there are no gaps, especially at corners and seams, where water tends to find its way in first. This step is what actually keeps water out long-term, so don’t rush it.
7. Finish and Cure
Run a roller over the patch to press out any remaining air and improve contact with the adhesive underneath. Check the whole repair for gaps, bubbles, or thin spots, and touch up anything that looks incomplete. Finally, let the repair cure fully per the product instructions before exposing it to rain or foot traffic—curing too little is one of the most common reasons a fresh patch fails in its first storm.
When to Call the Professionals
Not every flat roof repair is a safe or practical DIY job. It’s time to call a roofer if:
The Damage Is Widespread
Large cracks, multiple soft spots, or visible sagging points point to problems that go beyond a simple surface patch, often into the roof deck or insulation layer, which require professional assessment.
There Are Multiple Leaks or Large Areas of Ponding
Several active leaks or standing water across a big section of the roof usually signal an underlying drainage or membrane issue, not an isolated spot repair. A professional can trace the full extent of the problem before it causes interior damage.
You’re Not Sure Which Materials to Use
Every flat roofing system—EPDM, TPO, modified bitumen, or built-up roofing—needs matching repair materials and techniques. Getting this wrong is one of the most common (and costly) DIY mistakes.
You Want a Warranty on the Work
Professional residential flat roof repair typically comes with a workmanship warranty, giving you protection if the same issue resurfaces, something a DIY patch simply can’t offer. Flat roofs are also common on garages, additions, and outbuildings tied into commercial roofing projects, so the same repair principles apply across property types.
Final Thoughts
A flat roof can last for decades, but only if small issues are addressed before they become big ones. Whether you’re fixing a leak on a flat roof yourself or bringing in a professional, addressing damage early with the right materials and a proper process is what keeps repairs from turning into replacements.
If your flat roof is showing any of the warning signs above, don’t wait for the next storm to find out how far the damage has spread. Contact Arizona Roof Experts today for a professional inspection, or get a free instant estimate and get ahead of the problem before it costs more to fix.
Get a free, instant, and precise estimate for your roof today!